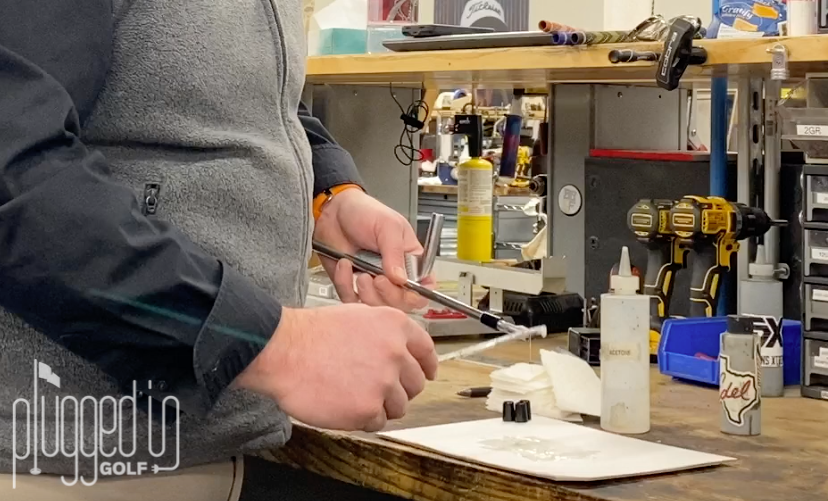
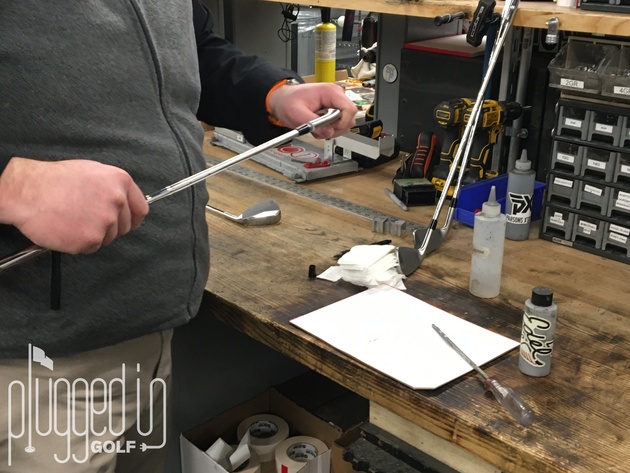
The Best Part of Club Building
With apologies to all the other procedures in club building, nothing is as satisfying as assembling a golf club. You start with a handful of components and end up with a usable golf club. In this edition of Club Building 101, we’ll take you through each step in the process so your builds are rock solid.
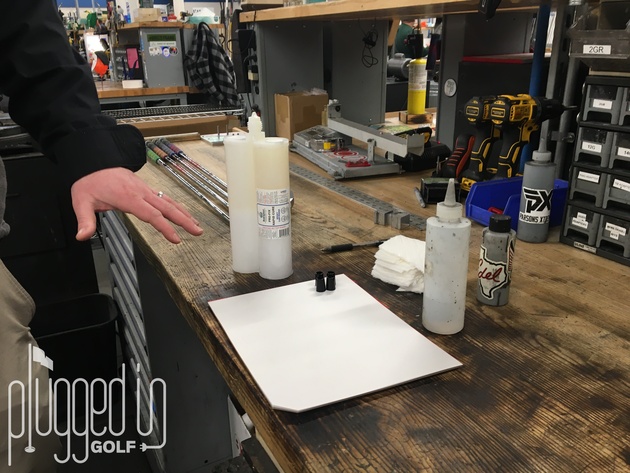
Tools & Supplies You Need
Golf club epoxy
The Tools You Want
Epoxy dispenser
Shafting beads or shims
Paper towels
Acetone
The Process
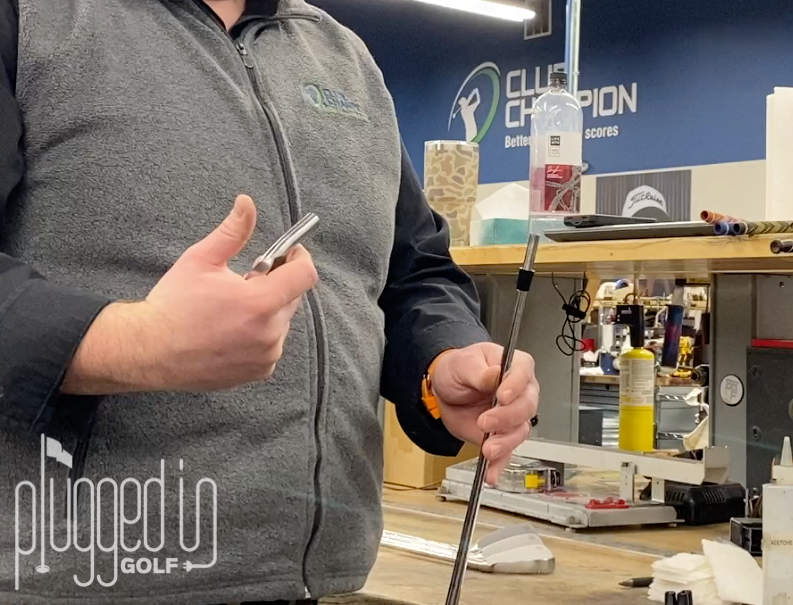
Step 1: Lay out all your components. Make sure you have the shaft, ferrule, and club head on hand and ready to go. Also, make sure the shaft has been prepped and is ready for installation. If you’re not sure what that means, click HERE.
Make sure you’ve measured your clubs perfectly HERE and made the best cut HERE.
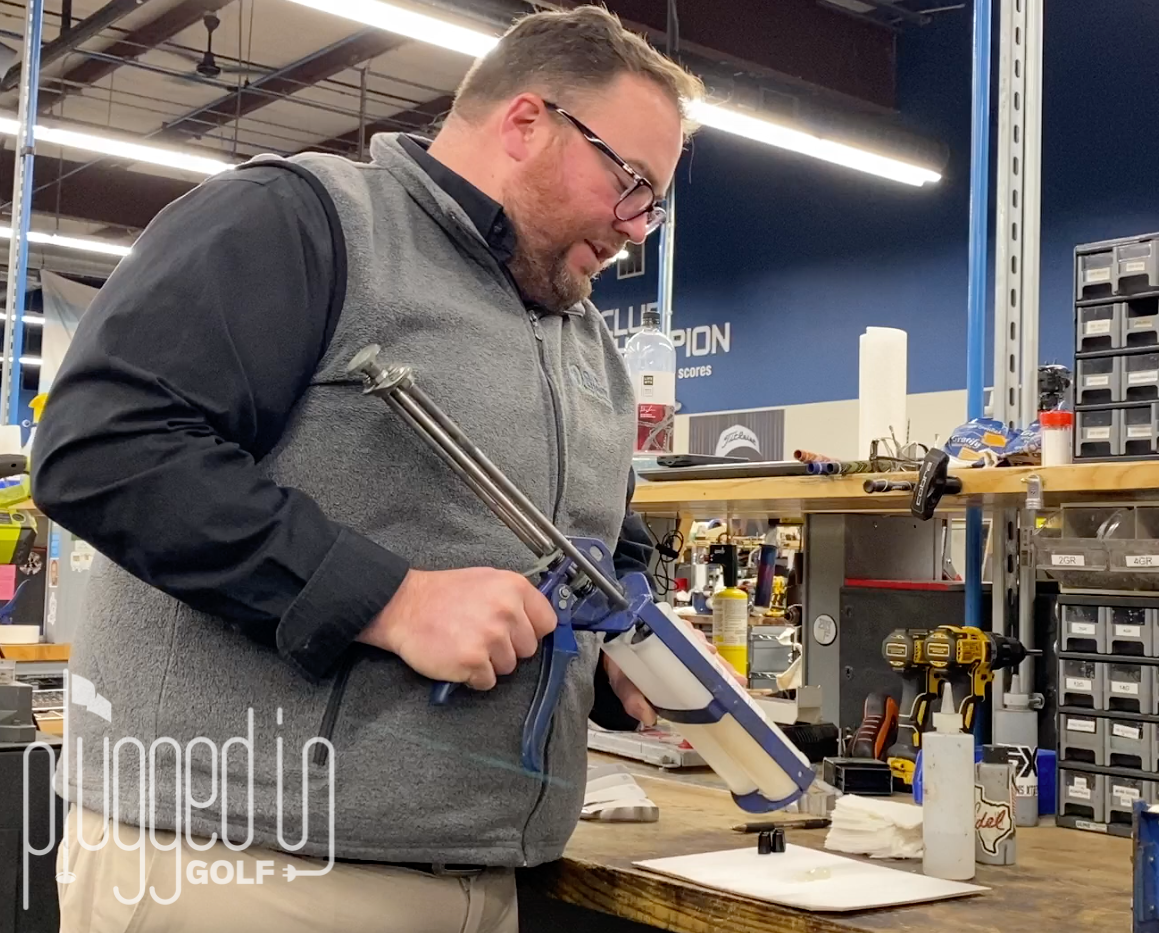
Step 2: Mix your epoxy. This is a critical step. Make sure that you take plenty of time to ensure a good mix. As Nick says, you can’t over-mix, but you absolutely can under-mix. If you don’t mix the epoxy well, your club may not stay together.
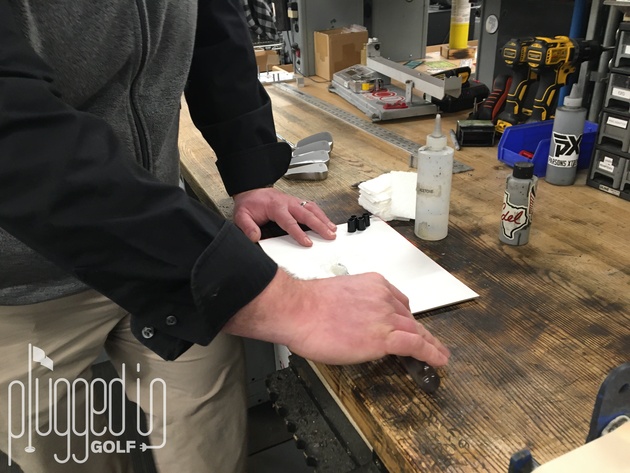
Step 3: Roll the shaft in the epoxy. Get a light coat of epoxy on the shaft to help the ferrule slide onto the shaft and stay in place.
Step 4: Install the ferrule. Push the ferrule onto the tip of the shaft, and set it to the right depth with the club head.
Step 5: Put epoxy into hosel and onto shaft. Using a slim screwdriver or whatever you used to mix the epoxy, put a generous helping of epoxy into the club’s hosel. Follow that up by putting more epoxy on the shaft. Similar to Step 2, you can only under-do this step, you can’t over-do it.
Optional – Step 5A: Use shafting beads or shim. If your club head and shaft fit together tightly, this step is unnecessary. However, if the fit is a little loose, you can use shafting beads to center the shaft in the hosel and create a tighter fit.
If you’re putting a taper tip shaft into a hosel made for a parallel tipped shaft, you will want to install a shim on the shaft first. A shim essentially enlarges the diameter of the shaft to create a better fit in the hosel.
Step 6: Install club head on shaft. Once you know the fit is good and both sides have plenty of epoxy on them, push the club head onto the shaft. Make sure you get the shaft all the way to the bottom of the hosel.
Step 7: Clean up excess epoxy. Put some acetone on a paper towel and clean off the excess epoxy. You can wait and clean up the excess after it has dried, but it’s more work.
Step 8: Align shaft. Before you set the club aside to dry, make sure that the grip and shaft are aligned in the way that you want.
Common Mistakes
There are a lot of potential problems in gluing up a club. Most of them relate to being careless with your epoxy.
The first mistake is not getting two even parts of your epoxy. A gummed-up tip or air bubble in the cylinder can keep you from getting an even 1:1 mix. Watch your dispenser carefully to make sure you’re getting the same amount of both parts.
This was addressed earlier, but it can’t be overstated: make sure to mix your epoxy thoroughly. Spend the extra thirty seconds mixing the epoxy and you won’t have to worry about throwing a club head during your round. Pay special attention to the epoxy at the edges of the batch. It’s easy to only stir the middle and have epoxy at the edges that’s barely mixed.
Finally, don’t install your ferrules without epoxy. If you don’t have epoxy on the shaft when you press on the ferrule, it can ride up and down the shaft. In addition to putting epoxy on the shaft, consider putting a little on the top of the hosel for even more security.
Pro Tips
If you’re using quick set epoxy, which is only recommended for seasoned builders, limit yourself to one or two clubs per batch. Trying to squeeze a third or fourth build out of a batch of epoxy is a recipe for poor adhesion. If you want to build a full set with one batch of epoxy, use “slow set” epoxy.
Watch the Video HERE
The Full Club Building 101
How to Measure & Adjust Swing Weight
He founded Plugged In Golf in 2013 with the goal of helping all golfers play better and enjoy the game more.
Matt lives in the northwest suburbs of Chicago with his wife and two daughters.
- Performance Golf Click Stick Training Aid Review - October 18, 2024
- Callaway Opus Platinum Wedge Review - October 17, 2024
- When to Take a Break from Golf - October 15, 2024


